
Garden Basics · 2026 guide
Garden Design Ideas for Beginners: A Simple 2026 Guide
The best garden design ideas for beginners all start the same way: read the site before you buy anything, sketch a simple plan so decisions happen on paper instead of in the ground, pick a short list of easy-care plants and repeat them, and build in a fixed order — hard surfaces first, planting last. Skip these and even a small garden ends up looking cluttered and costing more to fix than it would have cost to plan properly. This guide walks through each idea in plain English, with real beginner-friendly plants, a simple layout formula anyone can copy, and the mistakes that catch new gardeners out most often in 2026.
AI Garden Design GuidesPublished July 22, 2026Updated July 22, 202610 min read
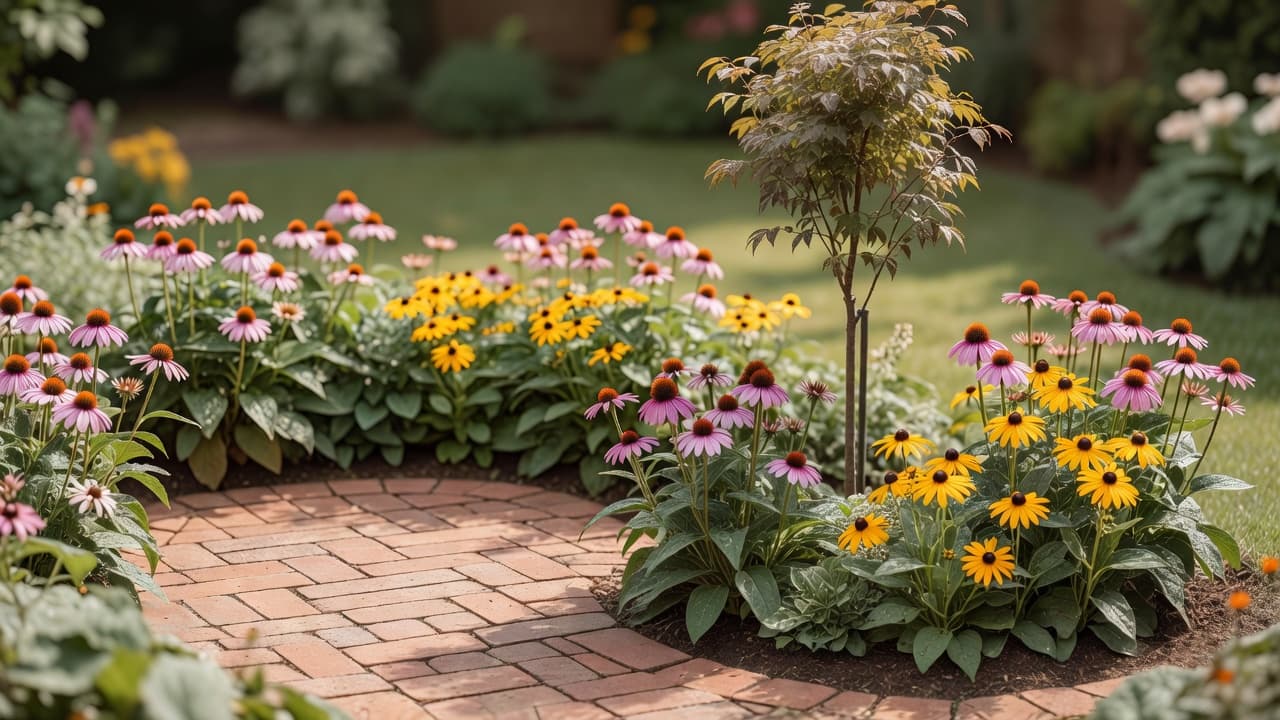
Garden design ideas for beginners, in eight steps
Almost every beginner garden that ends up looking cluttered, patchy or overspent went wrong at the planning stage, not the planting stage. Plants get bought one at a time on impulse, a path gets laid before anyone works out where the seating actually needs to go, or a single well-meaning shrub ends up blocking the only sunny spot in the garden. Our full AI garden design guide covers the bigger picture of what AI tools can and cannot do; this guide is the practical starting point for anyone with a blank patch of ground and no design background at all.
- Know your site — sun, shade, soil and what is already worth keeping.
- Sketch a simple plan — even a rough one on paper, or a photo-based tool, beats guessing.
- Learn four design principles — repetition, focal point, scale and unity cover most decisions.
- Choose a short list of easy plants — five or six species, repeated, not one of everything.
- Use a simple layout formula for your first border so it reads as designed, not scattered.
- Set a realistic budget before falling in love with any single feature.
- Build hard surfaces before planting — paths and patios always go in first.
- Start small and expand — one well-finished border beats an ambitious whole-garden plan abandoned halfway.
Step 1: Know your site before you plan anything
Before sketching a single line, spend a week actually watching the garden. The RHS guidance on getting to know your garden is blunt about this: a plan that ignores how light, shade and water actually move across a plot rarely survives its first year, however nice it looks on paper.
- Track sun and shade across a full day, and note how that shifts between midsummer and midwinter — a spot that is full sun in June can be deep shade under a bare tree canopy by October, or the reverse.
- Check your soil and drainage. Dig a hole about 30cm deep, fill it with water, and time how long it takes to drain. Standing water after several hours points to heavy clay, which favours raised beds and moisture-loving plants over anything that dislikes wet feet.
- Find your hardiness zone. In the US, the free USDA Plant Hardiness Zone Map shows your zone by ZIP code and is the single fastest way to rule out plants that will not survive your winters before you fall for them in a nursery.
- List what is already worth keeping. A mature tree, an established hedge or a good boundary fence is expensive and slow to replace, so a beginner plan that works around these usually looks settled sooner and costs less than one that clears the plot completely.
Step 2: Sketch a simple scale plan
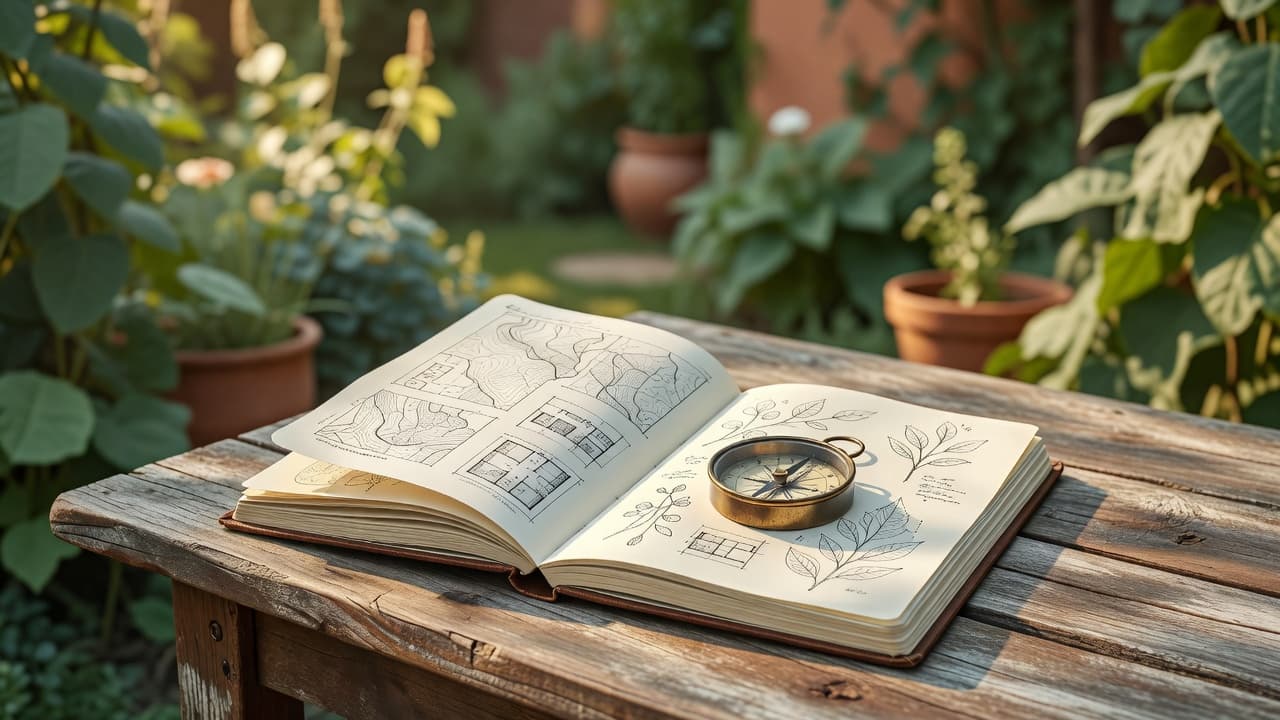
You do not need to be able to draw. The RHS garden design pages recommend nothing more advanced than squared paper at a scale of 2cm to 1 metre, with measurements taken by tape measure from two fixed points — usually the back corners of the house — to every boundary corner, tree and obstacle. It looks basic, and that is the point: a scale plan turns rough guesses into numbers you can actually order paving and turf against.
For a typical rectangular or gently irregular garden, a faster route to the same result is a photo-based AI garden planner: photograph the space from a couple of angles and the software generates a scaled, photorealistic layout to react to, without any manual triangulation. It will not replace a surveyor on a steep slope or an oddly shaped plot, but for most beginner gardens it removes the most fiddly part of step 2 entirely, and our step-by-step garden redesign guide covers the full planning sequence in more depth if your project is larger than a single border.
Step 3: Four design principles that cover most decisions
Professional garden designers work from a longer list, but four ideas do most of the work for a first garden, and none of them require any artistic training:
- Repetition. Repeat the same handful of plants, materials or colours through the space rather than using something different everywhere. A border of five species in drifts of three or five reads as designed; a border of fifteen single plants reads as cluttered, even if every individual plant is attractive.
- Focal point. Give the eye one clear place to land — a single specimen tree, a piece of garden art, or a bench at the end of a path. A garden with no focal point feels aimless; a garden with five competing focal points feels busy.
- Scale and proportion. Match the size of furniture, paving and plants to the size of the space. An oversized patio table or a tree that will eventually reach 15 metres are the two most common scale mistakes in small beginner gardens.
- Unity. Keep materials, colours and styles consistent across the whole garden rather than treating each corner as a separate project — the same paving, the same two or three plant colours, and hardware that matches, so the finished space reads as one garden rather than several.
These four ideas sit underneath almost every style, whether the eventual look is cottage, Mediterranean, Japandi or minimalist — see our 2026 garden design trends guide for what those styles look like in practice once the basics are in place.
Step 4: The easiest plants for beginners
The single best thing a beginner can do for their own confidence is to start with plants that are genuinely hard to kill. These are widely recommended by extension services and gardening authorities as reliable, low-fuss choices for a first border, though always check they suit your specific hardiness zone and soil before buying:
- Coneflower (Echinacea purpurea) — drought-tolerant once established, flowers for months, and attracts pollinators.
- Black-eyed Susan (Rudbeckia fulgida) — tough, long-flowering, and tolerant of poor soil.
- Daylily (Hemerocallis) — near-indestructible, spreads to fill space, and copes with neglect better than almost anything else.
- Salvia (Salvia nemorosa) — repeat-flowers through summer if lightly trimmed after the first flush, and shrugs off poor conditions.
- Sedum (Hylotelephium ‘Herbstfreude’ and similar) — thrives on neglect, needs almost no water once established, and adds structure into autumn.
- Hosta — for shade rather than sun, an easy, bold-leaved foliage plant that fills a border fast (though it needs some protection from slugs).
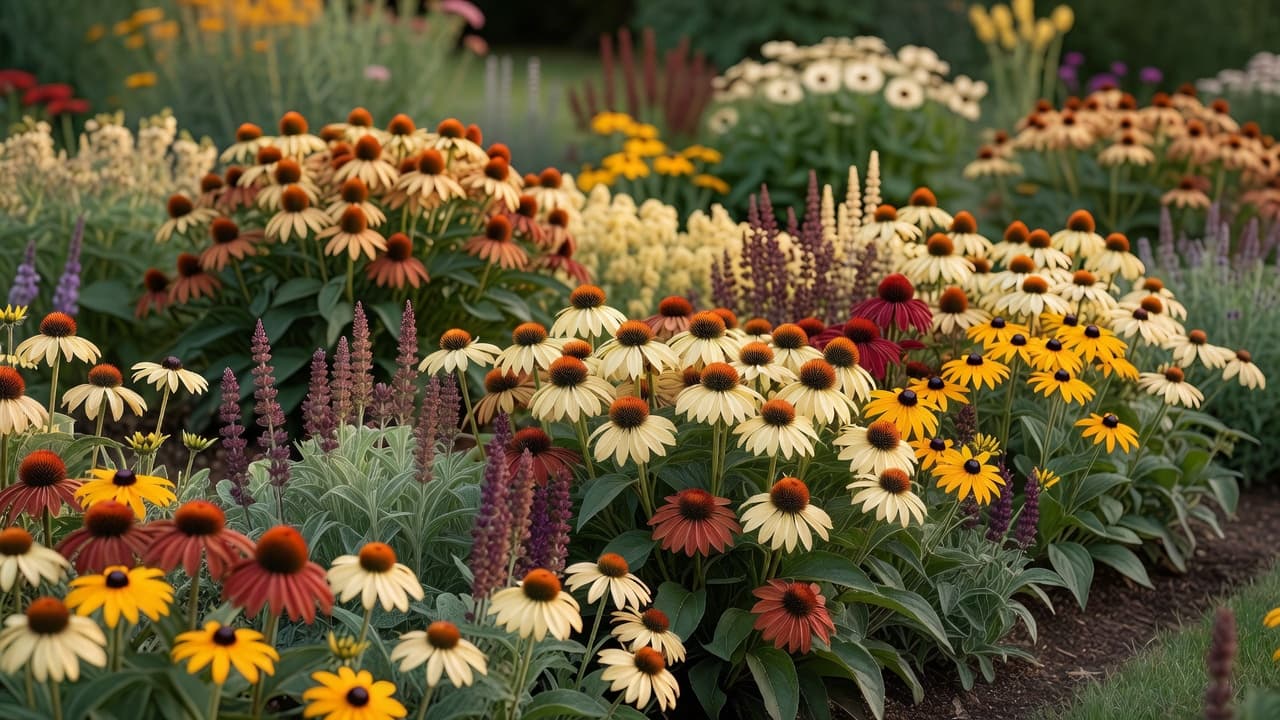
Resist the urge to buy one of everything that looks nice at the garden centre. Choosing five or six species and repeating each in a drift of three or more does more for the finished look than doubling the plant list ever will, and it is far cheaper too.
Step 5: A simple layout formula for your first border
Borders viewed mainly from one side — against a fence, wall or hedge — work well with a straightforward three-layer structure, and it needs no design training to copy:
- Back layer. The tallest plants or a single small tree, positioned furthest from the main viewing point.
- Middle layer. Medium-height perennials and shrubs, repeated in groups of three or five, doing most of the visual work.
- Front layer. Low, spreading or edging plants that soften the border's front line and hide the bare soil beneath taller plants.
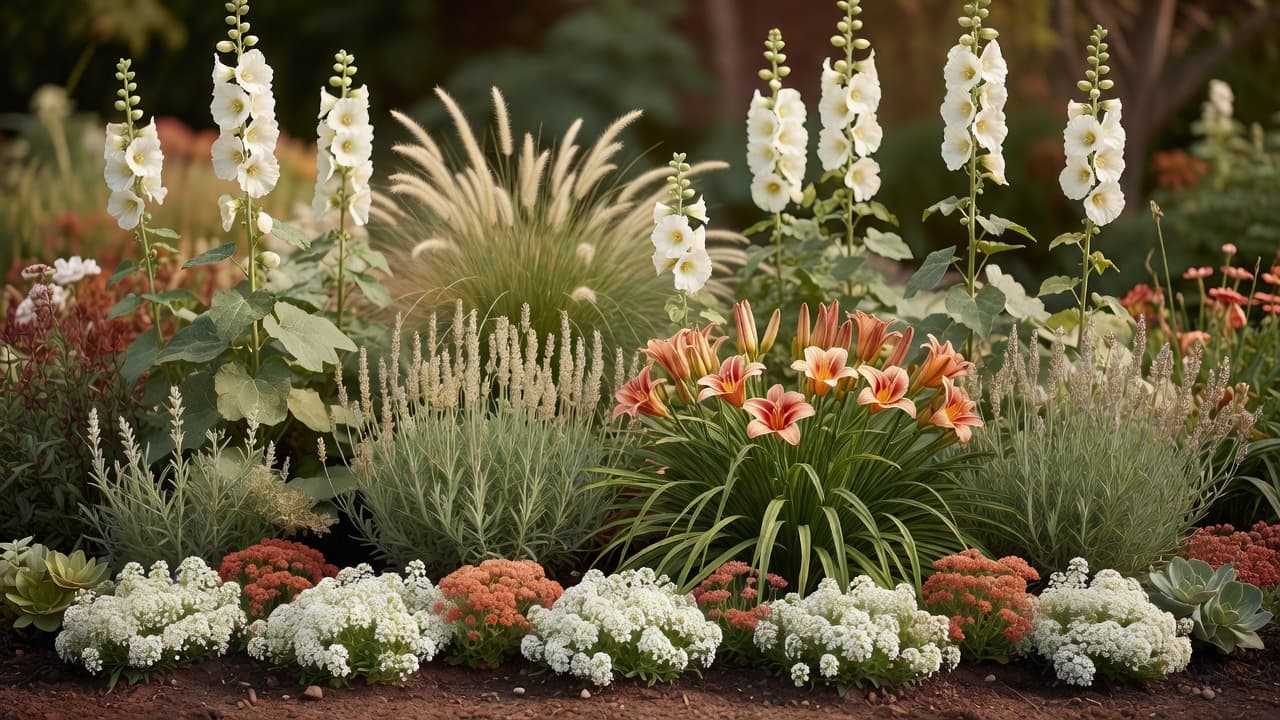
Break the rule occasionally with one taller "exclamation mark" plant pushed forward from the back layer — a single ornamental grass or upright perennial in the middle layer stops the whole border looking too neat and mechanical. This is the same layering logic covered in more depth in our guide to planning a flower bed with AI, which is useful once you are ready to test a full planting plan against a real photo of your own border.
Step 6: Set a realistic budget
A beginner garden does not need a large budget, but it does need a realistic one set before any shopping starts. As a rough 2026 baseline for a modest first project:
- A single new border (soil improvement, a dozen plants, mulch): roughly £150–£400 / $200–$500.
- A small patio or seating area added to an existing lawn: roughly £800–£2,500 / $1,000–$3,000, depending on materials.
- A full light refresh of a small garden (new turf, a couple of borders, basic paving): roughly £1,500–£3,000 / $2,000–$4,000.
Our full 2026 garden design cost guide breaks prices down further by garden size and who does the work. Whatever the total, build in a contingency of around 10–15% — a beginner project almost always turns up one surprise, whether that is a buried obstruction, extra soil needed, or simply wanting one more plant once the border starts to fill in.
Step 7: Build hard surfaces before you plant anything
This single rule saves more beginner gardens than any other: lay paths, patios, edging and any other hardscape before a single plant goes into the ground. Deliveries, wheelbarrows and the general foot traffic of a build compact soil and damage young roots, so nothing soft should go in until the hard elements are finished. Planting first and building around it afterwards is one of the most common and most expensive-to-fix beginner mistakes there is.
Step 8: Start small and let the garden grow
One well-finished, well-maintained border teaches a beginner more, and looks better, than an ambitious whole-garden redesign started and abandoned halfway through. Pick the area seen most often — usually just outside the back door or along the main path — finish it properly using the steps above, and expand outward once it is established. Confidence, not ambition, is what actually gets a first garden finished.
Seeing a layout applied to an actual photo of your own space, rather than imagining it, removes most of the guesswork at this stage. FlorAI can generate a photorealistic redesign of your own garden from a single photo, which is a low-pressure way for a beginner to test a border layout or planting style before spending anything on plants.
Frequently asked questions about garden design for beginners
What is the easiest garden design for a beginner?
A single rectangular or gently curved border built from five or six easy-care, repeated plants, with a clear back-middle-front height layout, is the most forgiving starting point. It needs no design training and is simple to expand once it is established.
What plants should a beginner start with?
Reliable, widely recommended starting points include coneflower, black-eyed Susan, daylily, salvia and sedum for sun, and hosta for shade. All tolerate some neglect and poor soil better than most other garden plants, though it is worth checking each against your local hardiness zone before buying.
Do I need a design plan for a small garden?
Yes, even a rough one. A simple scale sketch, or a photo-based layout from an app, prevents the two most common beginner problems: buying the wrong quantity of plants or paving, and discovering a feature is in the wrong place only after it has been built.
What order should a beginner build a garden in?
Hard surfaces first — paths, patios and edging — then soil preparation, then planting, largest plants first. Planting before the hard landscaping is finished is the most common and most costly beginner mistake.
How much does a beginner garden project cost in 2026?
A single new border typically costs roughly £150–£400 / $200–$500 including plants and mulch, while a small patio or seating area added to an existing garden usually runs £800–£2,500 / $1,000–$3,000 depending on materials. Our 2026 garden design cost guide covers larger projects in more detail.
Can AI help with garden design for beginners?
Yes. An AI garden design app like FlorAI can turn a single photo of a beginner's garden into a photorealistic layout, which makes it much easier to test a border, a patio position or a planting style before committing time or money to it.
Last updated: July 2026. Written by the FlorAI garden team.