
Garden Planning · 2026 guide
Garden Design Drawing: How to Draw a Garden Plan by Hand
Garden design drawing means measuring your garden accurately, transferring those measurements onto graph paper at a fixed scale — usually 1:50 or 1:100 — then layering a rough bubble diagram, standard symbols and a planting plan on top using tracing paper. Done in that order, a hand-drawn plan tells you exactly how much paving, turf and planting to order before you spend a penny. This guide walks through the tools, the measuring method professional designers actually use, and the symbols that make a sketch readable to anyone who has to build from it.
AI Garden Design GuidesPublished September 13, 2026Updated September 13, 202610 min read
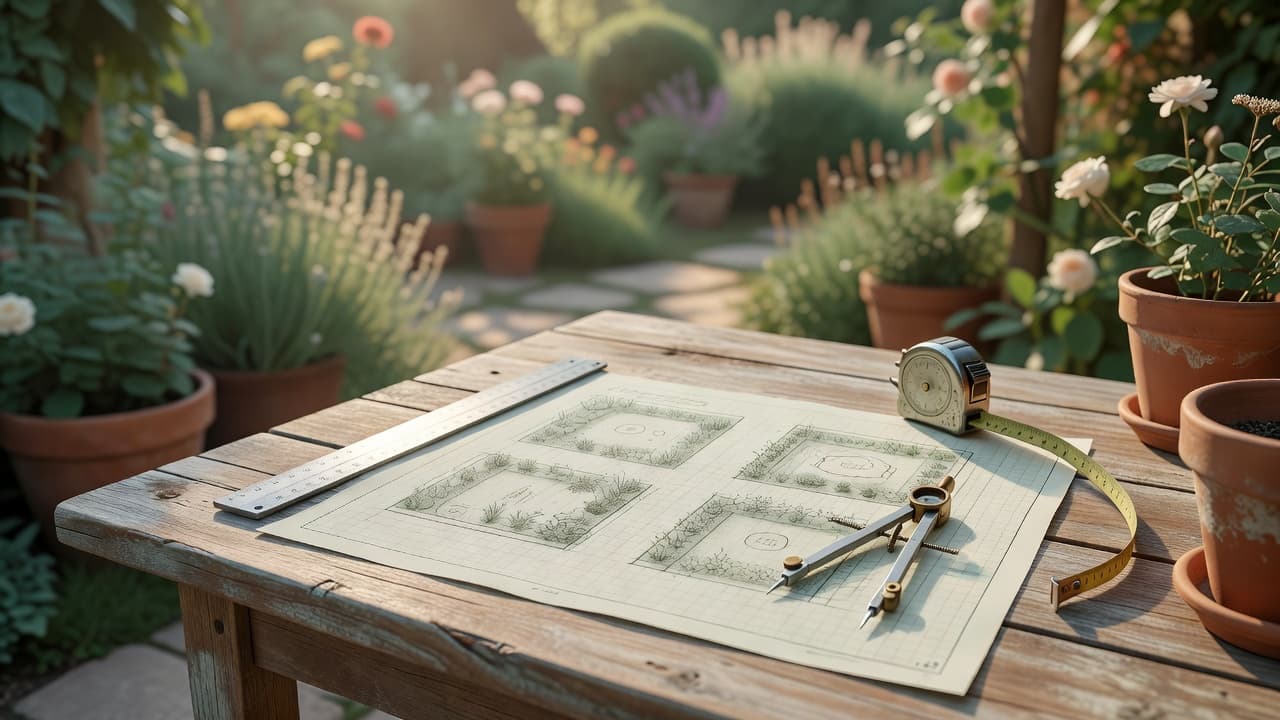
Garden design drawing in six steps: from measurements to a finished plan
This is the drawing step inside a bigger process — our guide to planning a garden redesign covers the full seven-step sequence, from assessing the site to getting the order of works right. This guide zooms into the part people find most intimidating: getting an accurate, readable plan onto paper in the first place.
- Gather the right tools — graph paper, tracing paper, a tape measure and a scale ruler.
- Measure your garden accurately using triangulation and offsets, not guesswork.
- Choose a scale and draw the base plan — the fixed, accurate outline everything else sits on.
- Sketch a bubble diagram to rough out zones before committing to any detail.
- Learn the standard garden plan symbols so the drawing means the same thing to anyone reading it.
- Layer tracing paper to test layouts and finalize the design without redrawing the boundary each time.
Step 1: Gather the right tools
None of this requires expensive equipment. A basic kit covers almost every residential garden:
- A metal tape measure, ideally 8m or longer for the garden and a 30m reel tape for long boundary runs.
- Graph paper with a 5mm grid — it converts cleanly to a 1:50 scale, where each small square represents 10cm on the ground.
- Tracing paper, either loose sheets or a roll, for layering design ideas over your finished base plan without redrawing it each time.
- A scale ruler or a plain ruler, plus a pencil, eraser and fine liner pen for the final inked version.
- A compass (the drawing kind, for arcs) if you plan to use the triangulation method described below — it is optional but speeds things up.
- A clipboard to steady your rough sketch while you take measurements outside.
If hand-drawing everything sounds like more time than you have, a photo-based AI garden planner can shortcut the base plan itself — more on that once the plan is measured.
Step 2: Measure your garden accurately
Gardens are rarely the neat rectangle people assume, and most boundaries have kinks, bulges or obstacles. The RHS guide to creating a garden plan recommends a simple triangulation method that professional designers use for exactly this reason.
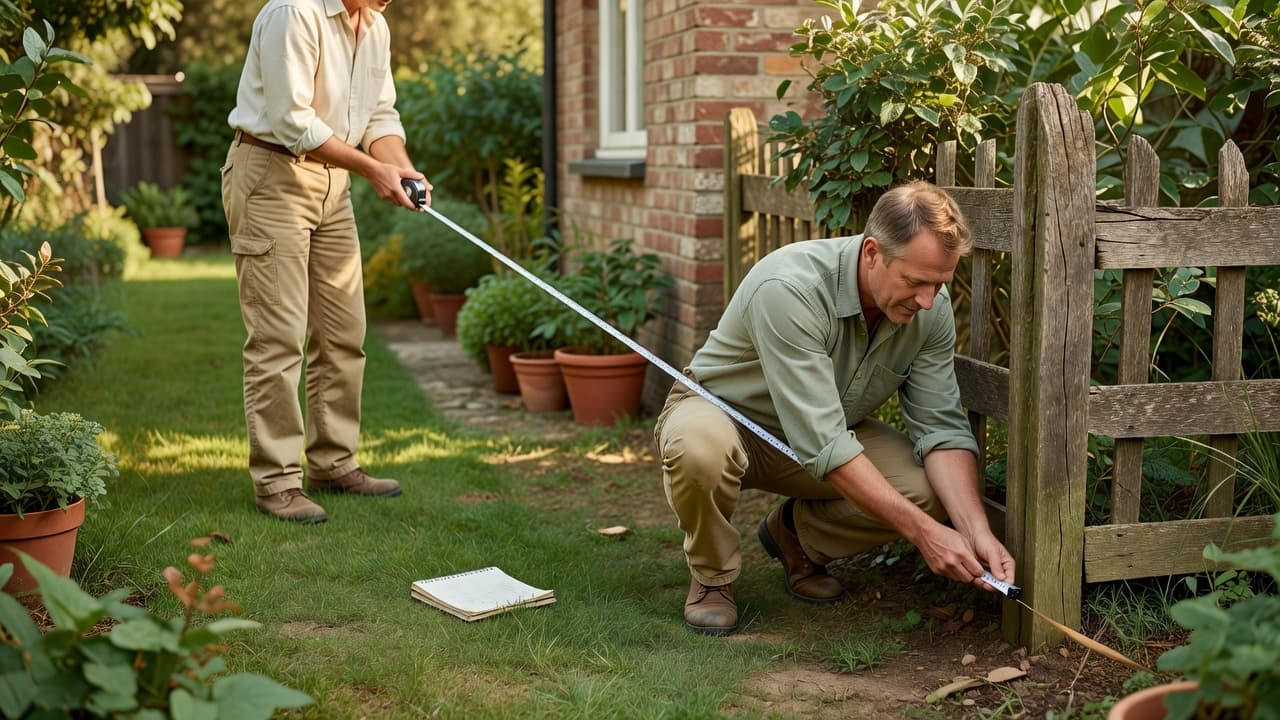
- Rough-sketch the garden first. On plain paper, freehand the house, the boundary, and any fixed features — trees, sheds, manhole covers — so you have somewhere to log measurements as you take them.
- Fix two points on the house — usually the two back corners — and label them A and B. These stay constant for every other measurement.
- Triangulate each boundary corner. Measure from both A and B to the same corner and note both distances. Two measurements from two known points fix that corner's exact position, however irregular the boundary is.
- Repeat for every corner, tree and structure you want on the plan, always measuring from the same two fixed points where you can.
- Use offsets for curves. Peg a straight line parallel to the house, then take measurements at right angles from that line to the curved edge at regular intervals — this plots a curved bed or path just as accurately as a straight boundary.
The RHS notes that accuracy matters most close to the house, where hard landscaping will actually be built; measurements toward the back of a long garden can be slightly looser. Whatever method you use, log every number on the rough sketch before you go inside — it is much harder to remember which distance belonged to which corner an hour later.
Step 3: Choose a scale and draw the base plan
Once you have real measurements, transfer them onto graph paper at a fixed scale. Most residential gardens are drawn at 1:50 (2cm on paper equals 1m on the ground) or 1:100 for larger plots (1cm equals 1m) — use the longest measurement on your sketch to decide which fits the page.
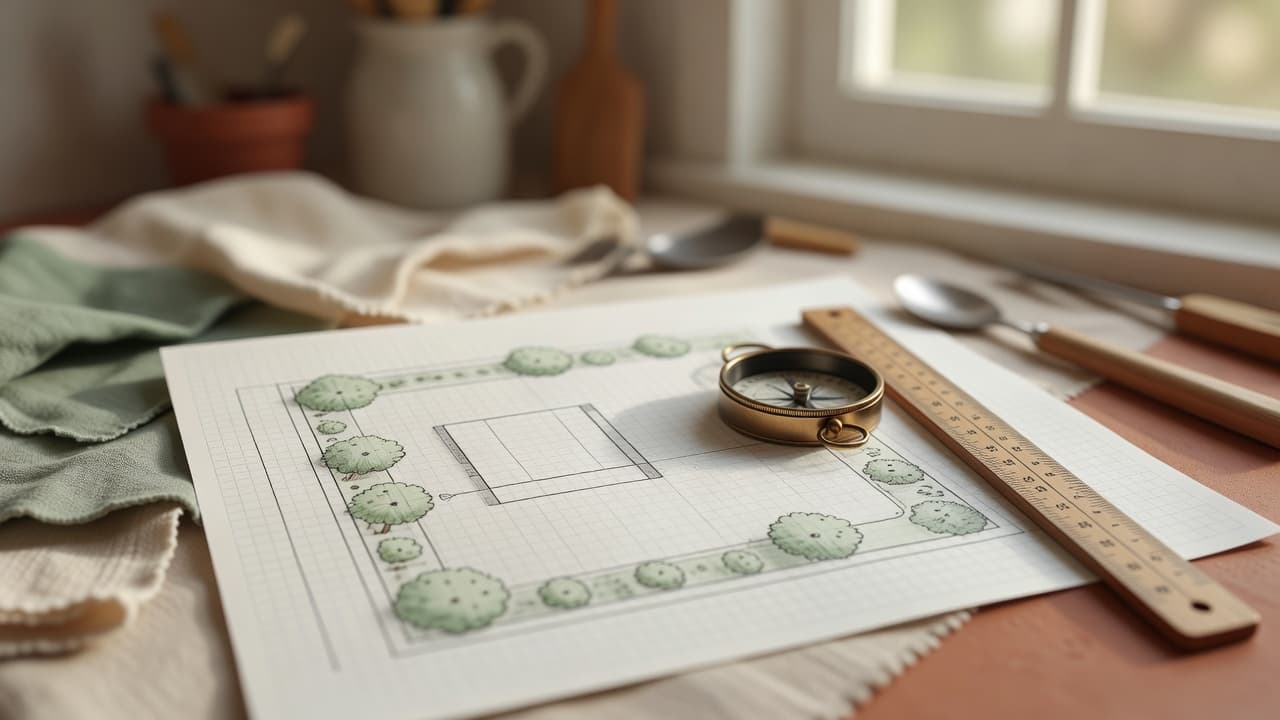
Set a compass to each scaled distance and draw an arc from point A, then reset it to the second distance and draw an arc from point B — where the two arcs cross is the exact scaled position of that corner or feature. Repeat for every point you triangulated, then join them into a boundary line. A base plan should include:
- The house outline, with doors and windows marked, since these fix where paths and views need to line up.
- The full boundary, plotted point by point rather than estimated by eye.
- Existing features worth keeping — mature trees, sheds, manhole covers, drain covers and any change in level.
- A north arrow, so you always know which way the garden faces once the plan leaves your desk.
- Notes on sun and shade across the day, since aspect drives almost every planting decision that comes later.
Getting the base plan right pays off later — our garden design principles guide covers how proportion and scale, established here, shape everything from border widths to how balanced the finished layout feels.
Step 4: Sketch a bubble diagram before the details
Before drawing a single plant or paving slab, photocopy or trace your base plan and sketch loose, rough circles — "bubbles" — over it to represent broad zones: dining, lawn, planting, utility, play. Sizes should be roughly proportional to how much space each zone needs, but the shapes stay deliberately vague at this stage.
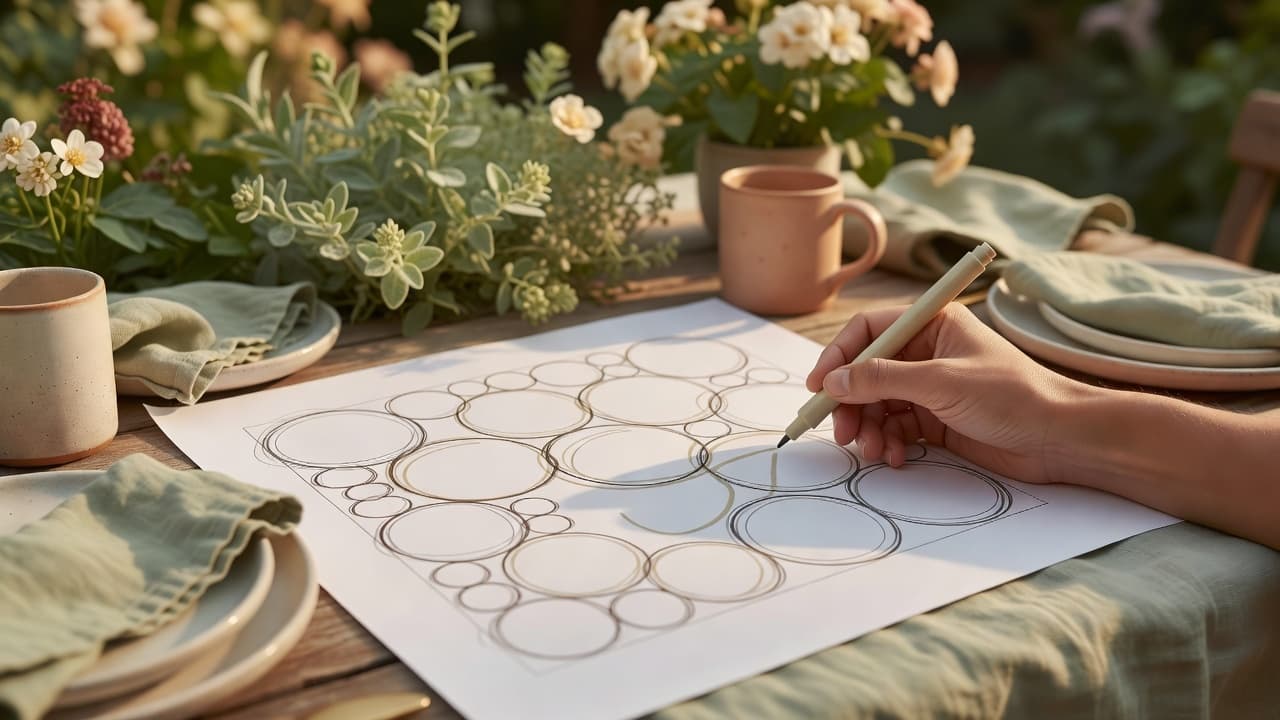
- It is fast to redo. A bubble diagram takes minutes to sketch, so you can try three or four different zoning arrangements before picking one — far cheaper than discovering a layout does not work once it is built.
- It forces circulation to be planned early. Draw rough lines connecting the bubbles for paths; if two zones that need to connect end up on opposite sides of the plan, it shows up now, not after the patio is laid.
- It separates function from style. Deciding where the dining zone goes is a different decision from choosing a cottage or Japandi look — our garden design styles guide is a good next stop once the zones are settled.
Step 5: Learn the standard garden plan symbols
A garden design drawing only works as a communication tool if the symbols on it mean the same thing to everyone reading it — you, a partner, or a landscaper pricing the job. A small, consistent set of conventions covers most residential plans:
- Deciduous trees — a circle with a soft, irregular or scalloped outline, drawn at the tree's expected mature canopy spread, not the size it is bought at.
- Evergreen trees and shrubs — a solid or densely hatched circle of the same kind, to distinguish year-round cover from trees that lose their leaves.
- Hedges — a continuous band or a row of overlapping circles along the boundary line, at the hedge's mature width.
- Paving and hard surfaces — cross-hatching, dots or a brick-bond pattern, often labelled with the material (e.g. "sandstone paving").
- Decking — parallel lines running in the direction the boards will be laid.
- Water features — wavy lines or light blue shading, with the water's edge drawn as a solid line.
- Steps and level changes — a series of parallel lines with an arrow showing the "up" direction.
- A north arrow and scale bar, always included in a corner so the drawing still makes sense out of context.
The single most common symbol mistake is drawing trees and shrubs at the size they look in the pot rather than the footprint they will reach in ten or twenty years — this is what causes borders that look sparse on paper and overcrowded within a few seasons.
Step 6: Layer tracing paper to develop and finalize your design
Once the base plan is accurate, never draw on it directly again. Lay a fresh sheet of tracing paper over it for each idea you want to test — one layer for hard landscaping options, another for planting — so you can compare them side by side without redoing the boundary and house outline every time. When a combination works, trace the final version in ink or a fine liner as your working drawing.
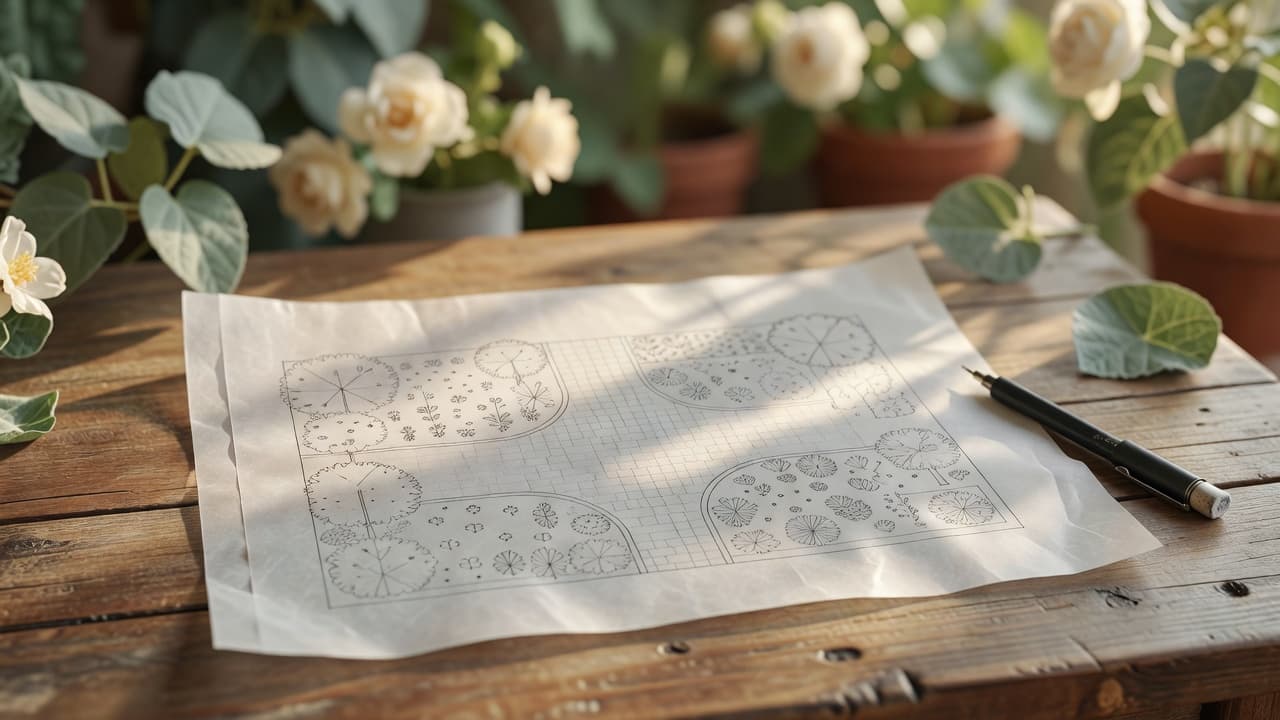
This is also the point where a photo-based tool earns its place alongside paper rather than replacing it. Once you have a rough plan sketched out, you can preview the finished look instantly with an AI garden design app like FlorAI — upload a photo of the actual garden and it generates a photo-realistic version of a chosen style in seconds, which is a fast way to agree on the look before committing to specific paving, planting or a landscaper's quote. If you do end up hiring a professional to build the design, our guide to sharing a garden design with a landscaper covers how to hand over both the hand-drawn plan and any photo-based visuals cleanly.
Common mistakes in garden design drawing
- Skipping the scale entirely and sketching freehand. A plan without a fixed scale cannot be used to order materials, which is the entire point of drawing one.
- Guessing measurements instead of triangulating. A boundary that "looks about right" is the most common cause of a plan that does not match the real garden once building starts.
- Forgetting the north arrow. Without it, nobody can tell later which parts of the plan get morning sun and which get afternoon shade.
- Drawing trees and shrubs at nursery size. Always draw the mature spread, not the size in the pot, or the border will look crowded within a couple of growing seasons.
- Jumping straight to a detailed planting plan. Skipping the bubble diagram means testing zoning ideas on paper you have already invested hours in, which makes starting over feel far more costly than it should.
- Drawing directly onto the only copy of the base plan. Without tracing paper layers, every new idea means starting the measuring and drawing from scratch again.
Frequently asked questions about garden design drawing
What scale should I use for a garden design drawing?
Most residential gardens are drawn at 1:50, where 2cm on paper equals 1m on the ground. Larger plots are usually drawn at 1:100 (1cm equals 1m) so the whole garden still fits on a single sheet.
What paper is best for drawing a garden plan?
Graph paper with a 5mm grid works well at 1:50 scale, since each small square represents 10cm. Keep tracing paper on hand as well, so you can layer design ideas over the finished base plan without redrawing it each time.
How do I measure a garden accurately for a scale plan?
Fix two points on the house, then measure from both of those points to each boundary corner or feature — a method called triangulation. For curved beds or paths, peg a straight line and take measurements at right angles from it at regular intervals, a technique called offsetting.
What symbols are used in garden design drawings?
Common conventions include circles for trees and shrubs drawn at their mature spread, cross-hatching or dots for paving, parallel lines for decking and steps, wavy lines for water, and a north arrow with a scale bar in the corner of every plan.
Do I need to draw a bubble diagram?
It is not mandatory, but it is a fast, cheap way to test different zoning layouts before committing to exact shapes and materials — most professional designers sketch several before settling on one.
Can AI help turn my garden design drawing into a finished look?
Yes. Once you have a rough hand-drawn plan, an AI garden design app like FlorAI can turn a single photo of your actual garden into a photo-realistic preview of a chosen style, which makes it much easier to agree on the look before ordering materials or getting quotes.
Last updated: September 2026. Written by the FlorAI garden team.