
Fire Pit Areas · 2026 guide
How to Design a Fire Pit Area (2026 Layout Guide)
How to design a fire pit area comes down to four decisions, in this order: a spot that meets safe clearance distances, a footprint sized for the seating around it, a fuel type that fits your space and local rules, and materials and lighting that make the area usable after dark. Get those four right and everything else — cushions, planting, a drinks table — is decoration. Get the clearances or the sizing wrong and you end up with a fire pit too close to the house, too small a seating ring, or smoke blowing straight into every conversation. This guide walks through each decision with the real 2026 safety distances, costs and layout numbers.
AI Garden Design GuidesPublished September 2, 2026Updated September 2, 202610 min read
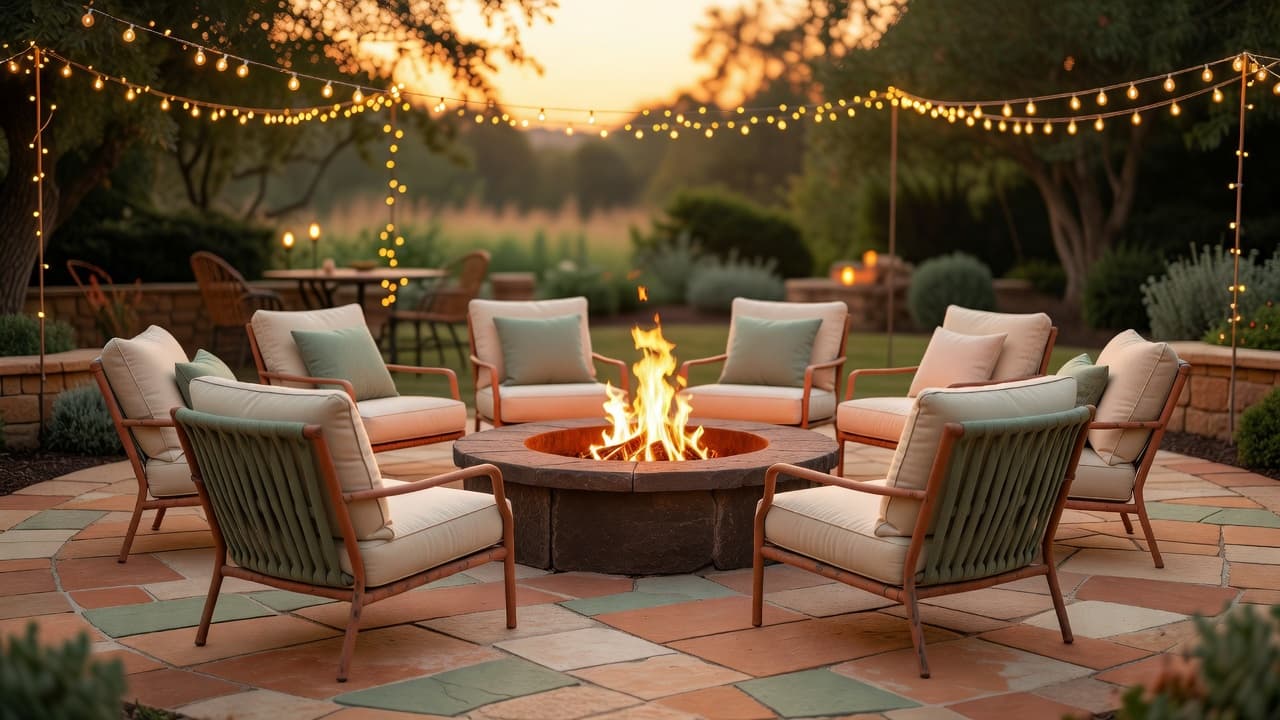
How to design a fire pit area, step by step
A fire pit is a small, cheap thing to buy. A fire pit area — the clearance, the paving, the seating, the lighting — is the actual design project, and it is where most backyard fire pits go wrong: pushed too close to a fence, dropped onto grass that scorches, or surrounded by too few chairs for the space around it. If you are planning this as part of a bigger backyard project rather than on its own, our guide to planning a garden redesign covers how to sequence it alongside everything else, and our AI garden design guide is a good starting point if you have not designed outdoor space before.
Choose the spot and check the safe clearances first
Clearance is not a style choice — it is what keeps a fire pit legal to use and safe to sit near. Local fire codes vary, so check yours before you build anything permanent, but the general rule from most US jurisdictions is straightforward: wood-burning fire pits need more distance than gas ones, because embers travel and flames run higher. The National Fire Protection Association advises keeping any open flame at least 10 feet from a structure or anything combustible, and many local codes push that to 15–25 feet for a wood-burning pit; gas and propane fire pits, which burn cleaner and lower, are typically allowed at 5–10 feet. If your property backs onto dry vegetation or woodland, the defensible-space zoning used by fire agencies like CAL FIRE is a useful stricter benchmark even outside wildfire-prone regions.
- 10–25 feet from any structure for a wood-burning fire pit — check your local fire code, since the exact figure varies by jurisdiction.
- 5–10 feet from any structure for a gas or propane fire pit, which burns lower and produces far fewer embers.
- No overhanging branches or pergola roofs directly above an open flame — radiant heat and sparks damage both.
- A level, non-combustible base — pavers, concrete, gravel or stone, never a wooden deck or dry lawn, directly under and around the pit.
- Downwind of seating and doorways where possible, so smoke drifts away from the group and away from open windows.
Size the footprint: fire pit, seating ring and breathing room
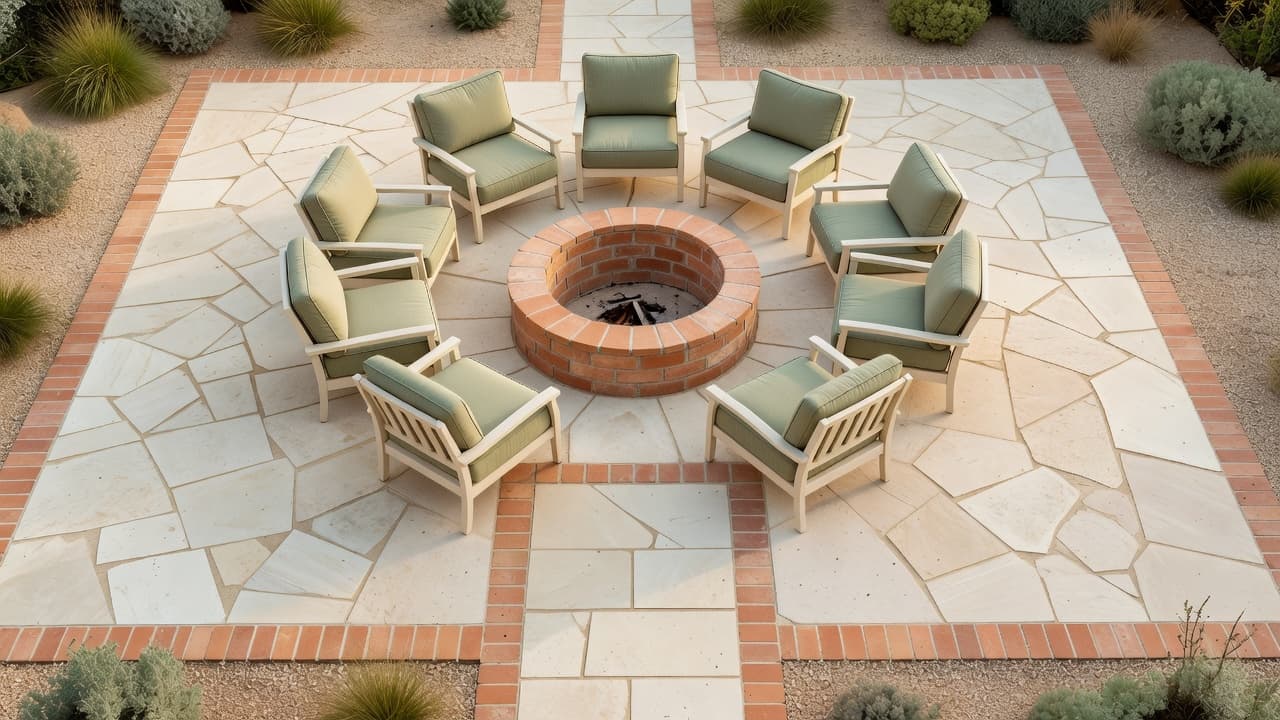
A fire pit area needs more space than people expect, because the seating ring sits well back from the fire and every chair needs room to push back behind it. Work outward from the fire pit itself: most fire pits run 36–48 inches across, and for wood-burning pits comfortable seated warmth sits around 6–7 feet back from the flame, while gas and propane pits — cooler and more contained — allow seating closer, at roughly 3–4 feet. Add 24–36 inches behind each seat for people to stand and walk past, and a 44–48-inch fire pit ends up needing a full circle of roughly 12–16 feet across once seating and clearance are included.
- Pick the fire pit diameter first — 36 inches suits four to six chairs, 44–48 inches suits six to eight.
- Add the seating-distance ring — 6–7 feet from flame for wood, 3–4 feet for gas or propane.
- Add 24–36 inches of walk-behind space beyond the seating for chairs to push back and people to pass.
- Check the total footprint against your clearance distance from step one — the seating ring must still fall inside the safe zone from the house.
- Leave one wider gap in the circle as an entry point, so people are not climbing over furniture to sit down.
Gas or wood-burning: which fits your space
The fuel decision drives almost everything else about the design — clearance distance, the base material, how close seating can sit, and what the area is allowed to be used for in a fire-restricted season. Wood gives the crackle and scent people actually want a fire pit for, but it needs more clearance, more airflow, and produces embers that a gas flame does not. Gas and propane units light instantly, hold a consistent flame with no smoke to manage around seating, and are frequently still permitted during regional burn bans that shut down wood fires entirely.
- Wood-burning: the lowest upfront cost, real crackle and scent, but the largest clearance requirement, ember risk, and it is often the first thing banned in dry-season fire restrictions.
- Propane: no gas line needed, tanks are refillable and portable, ignition is instant, and clearance can be tighter — a practical choice for a smaller or rented backyard.
- Natural gas: needs a permanent line run to the pit (the most expensive part of the build), but there is no tank to refill and running costs are low.
- Smokeless wood-burning pits: a newer middle option — still burns wood, but a secondary-combustion design pulls most of the smoke back through the flame, which is worth knowing about if smoke near seating is the main objection to a wood fire.
Choose fire-safe materials for the surround and paving
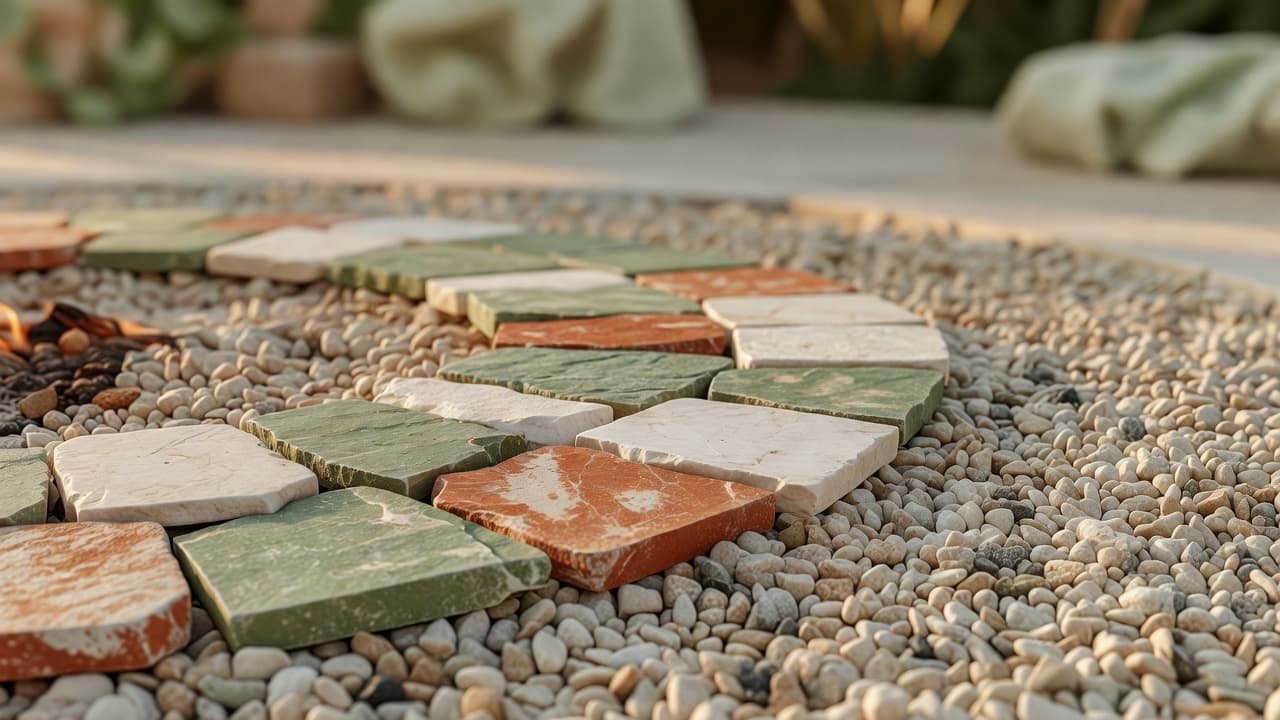
Everything within the clearance zone needs to be non-combustible, which narrows the material choice in a useful way rather than a restrictive one — pavers, natural stone, poured concrete, brick and gravel all read as intentional, finished surfaces rather than a compromise. Gravel and decomposed granite are the cheapest options and drain well, but they migrate underfoot over years and need occasional topping up; pavers and stone cost more but stay flat and are far easier to sweep clean of ash. If gravel is already part of your plan elsewhere in the garden, our guide to gravel garden design covers how to keep a gravel surface looking deliberate rather than scattered.
- Pavers or natural stone for the base directly around the pit — flat, easy to sweep, and the most forgiving surface for furniture legs.
- Gravel or decomposed granite for a wider surround — cheapest option, drains well, softens the look, but needs edging to stay contained.
- Poured concrete for a clean, modern base, especially where the fire pit area adjoins an existing patio or outdoor kitchen.
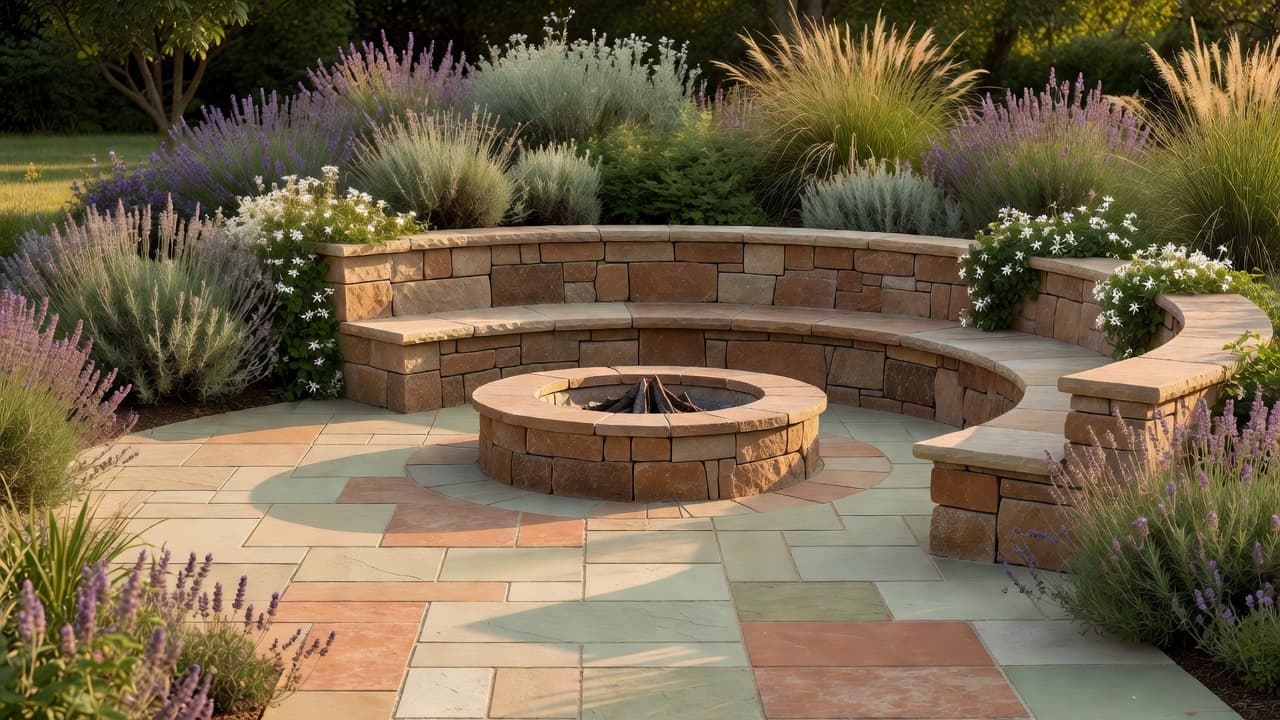
- A non-combustible edge or low wall around the whole area — it doubles as extra perching room on busy evenings.
Design the seating for conversation, not just proximity
A fire pit area lives or dies on whether people can actually talk across it. A tight circle of four to six chairs, all facing in, works far better than a scattered arrangement of mismatched furniture at different distances — everyone ends up at roughly the same distance from the heat and from each other. Built-in seating (a low stone or timber wall around the pit) holds more people in less footprint than loose chairs and never needs storing, but it fixes the layout permanently; movable Adirondack chairs or a sectional cost more floor space but let the area double as open lawn or a dining spot when the fire is not lit. If the fire pit sits close to an outdoor kitchen or dining area, our guide to outdoor kitchen design covers how to link the two zones without one crowding the other.
Whichever you choose, keep seat height low relative to the fire — 15–18 inches is typical — so people are looking across the flame rather than down into it, and leave that one wider gap in the circle so it reads as an entrance rather than a wall of furniture to climb over.
Add lighting and shelter for after-dark use
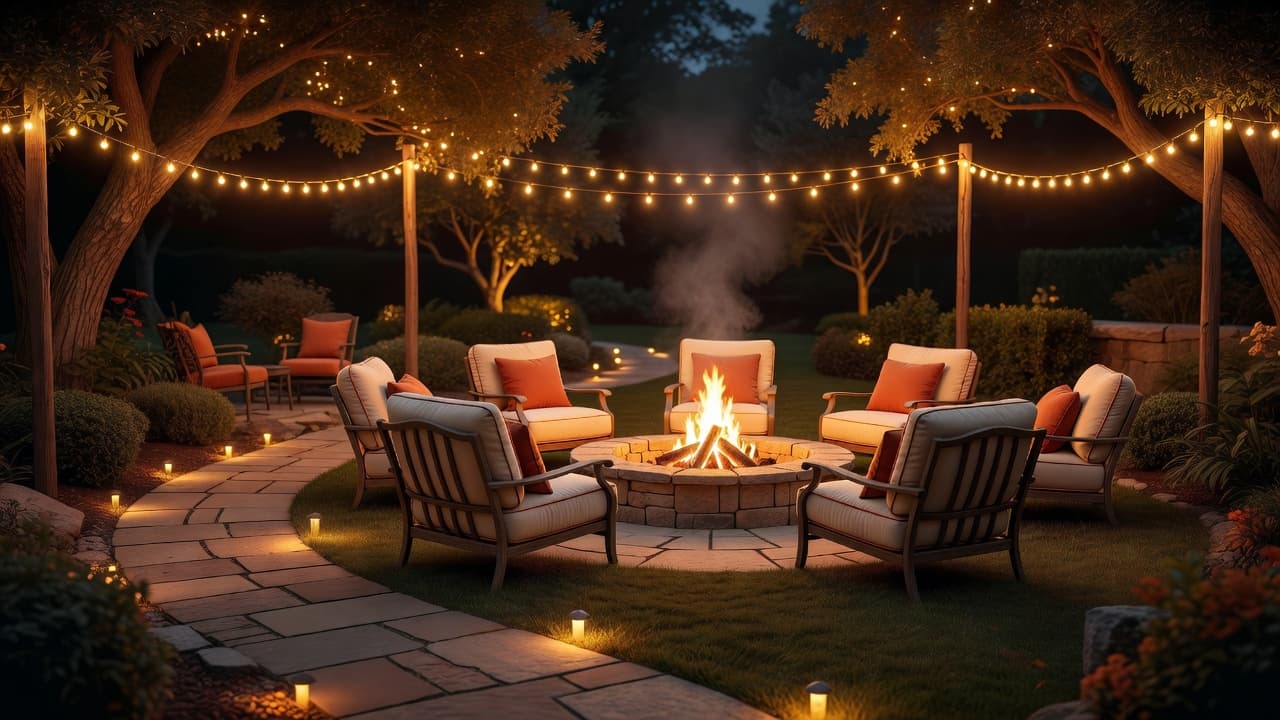
The fire pit itself only lights the inner circle — the walk-behind zone, the path back to the house and any steps need their own low-level lighting, or the area only half-works after dark. Warm, low-wattage path lights and string lighting overhead do the job without competing with the fire itself; avoid bright, cool-toned floodlights near a fire pit, which flatten the atmosphere the flame is there to create. Our guide to garden lighting design covers layering path lights, string lights and accent lighting in more depth. A pergola or shade sail can shelter daytime use of the same area, but keep any roof structure well clear of the flame and check it against local clearance rules before building it in.
See the layout before you dig or pour anything
Almost every fire pit mistake — too close to the fence, too small a seating ring, the entry gap in the wrong place — is a layout mistake made before anything was built. FlorAI takes one photo of your backyard and shows a fire pit area laid out on it — pit, seating and paving included — so you can check the clearances and the footprint against your actual space before you order a single paver. It runs free on the web, iPhone and Android. If the budget is the main constraint, our guide to garden design on a budget covers where to spend and where to save on a project like this.
What a fire pit area costs to build
The fire pit itself is usually the smallest line item. A wood-burning fire pit typically costs $300 to $1,000 all in, averaging around $650, while a propane fire pit runs $300 to $950, averaging about $625. Natural gas units cost more up front — $400 to $3,000 — mainly because of the gas line, and a fully installed gas fire pit area with a built-in gas line typically runs $3,500 to $8,000 once installation is included. Ongoing fuel cost is modest either way: roughly $14 for a bundle of firewood versus about $12 per 1,000 cubic feet of natural gas.
The bigger cost is usually the surround: paving, seating and lighting for the full footprint, not the fire pit itself, is what most of a project budget goes toward. Pricing hardscaping per square foot for pavers or stone against a wood-burning fire pit's roughly 12–16-foot circle gives a realistic total before you commit, and it is the number worth getting right before ordering materials.
Frequently asked questions
How far should a fire pit be from the house?
At least 10 feet for most fire pits, and 15–25 feet for a wood-burning pit under many local fire codes. Gas and propane pits, which burn lower and produce fewer embers, are typically allowed closer, around 5–10 feet — always confirm the exact distance with your local fire code before building.
How big should a fire pit seating area be?
Plan for roughly 12–16 feet across in total for a 44–48-inch fire pit, once you add 6–7 feet of seating distance for a wood-burning pit (3–4 feet for gas) plus 24–36 inches of walk-behind space beyond the chairs.
Is a gas or wood-burning fire pit better?
Wood-burning costs less upfront and gives the crackle and scent most people want, but needs more clearance and is often banned first during dry-season fire restrictions. Gas and propane cost more to install but light instantly, need less clearance, and stay usable when wood fires are restricted.
What should I put under and around a fire pit?
A non-combustible, level surface — pavers, natural stone, poured concrete, brick or gravel. Never place a fire pit directly on a wooden deck, dry grass or mulch.
How much does it cost to build a fire pit area?
The fire pit itself typically costs $300 to $1,000 for wood-burning or $300 to $950 for propane; a fully installed natural gas fire pit area with a gas line usually runs $3,500 to $8,000. The paving, seating and lighting for the surrounding area is usually the larger part of the total budget.
How many chairs fit around a fire pit?
A 36-inch fire pit comfortably seats four to six people; a 44–48-inch fire pit seats six to eight. Leave one wider gap in the seating circle as an entry point rather than filling the whole ring with chairs.
Last updated: September 2026. Written by the FlorAI garden team.